How to blur sensitive info in an iPhone screenshot
Drawing over a password or phone number with Apple’s translucent marker can still leave text readable if someone boosts contrast or brightness. To hide private details safely on iPhone, cover them with a solid opaque bar or rendered blur before sharing.
SnipMark · iOS 17+ (Universal Purchase with Mac)
Why iOS Markup highlighter strokes aren’t safe for secrets
When sharing an order receipt, bug report, or bank screen from iPhone, the quick black marker in iOS Markup defaults to partial transparency on the first pass. Even after scribbling over a phone number or address twice, subtle edge details often stay legible.
Instead of stacking semi-transparent pen strokes, use a dedicated redaction layer—or better yet, an opaque black bar—that renders directly into the exported pixels.
1. Quick redaction right from the iPhone Share sheet
You do not even have to leave Safari, Photos, or Mail first. Select one or more screenshots, tap Share → SnipMark (if hidden, tap More, scroll down to Edit Actions, and turn SnipMark on—see SnipMark support if needed).
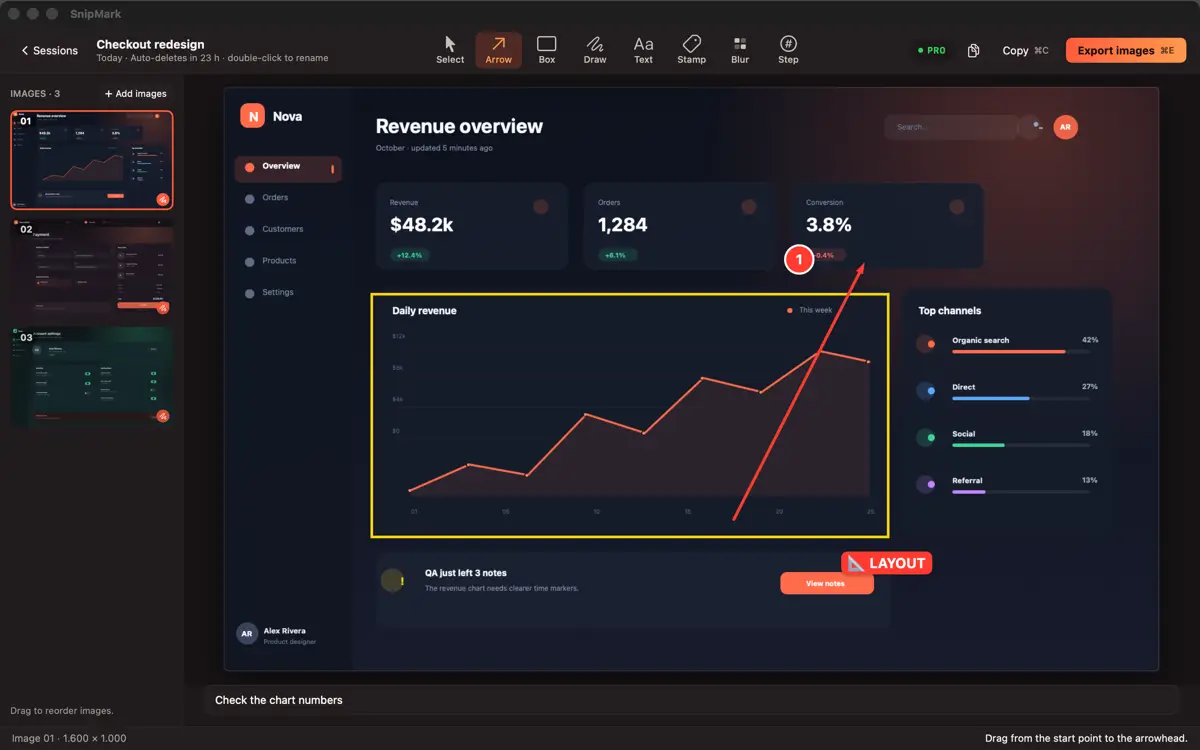
Inside the Share extension, switch to the Blur tool (eye-slash icon) alongside Select, Arrow, Rectangle, and Stamp, then drag over any email address, account ID, or face you want to cover.
Tap Style to switch between Pixelate, Blur, and Solid, adjust Strength (1–10 for Pixelate and Blur), pick Chat ready or Original quality, and tap Continue sharing… to send cleanly without saving an extra draft.
2. Choose the right style: Solid bar vs. Pixelate vs. Blur
SnipMark gives you three explicit redaction modes so you match the cover to the sensitivity of the screen:
Solid (Black bar): Renders a completely opaque black rectangle. Nothing underneath is recoverable—this is the safest option for passwords, recovery codes, API tokens, and card numbers.
Pixelate (Mosaic blocks): Breaks the masked area into coarse color blocks sized by your chosen Strength band (Light, Medium, or Strong). Helpful when you want to hide faces, avatars, or chat names while keeping layout context visible.
Blur (Soft smear): Applies a local Gaussian blur at Light, Medium, or Strong intensity. Clean for long UI labels and secondary text, though short text behind a light blur can still be guessed—switch to Solid for real secrets.
3. Combine redaction with step numbers across a multi-shot flow
When preparing a multi-step guide, support ticket, or bug sequence, save from the Share extension directly into a SnipMark session—or open the full SnipMark app on iPhone—to unlock the complete toolset (Box, Draw, Text, and Step number).
Drop auto-incrementing 1, 2, 3 badges next to the buttons you want someone to tap while blurring personal details across every screenshot in the same session. You can then batch rename and compress the set, combine shots vertically with Long stitch, or bundle pages into a Merged PDF.
4. Verify flattened exports and keep everything on device
During export to JPG, PNG, WebP, or PDF, SnipMark bakes every Pixelate, Blur, and Solid rectangle straight into the final image pixels on your iPhone—nothing uploads to a server, and no third-party analytics SDKs are included. Working sessions stay editable locally only as temporary storage and clear automatically 24 hours after your last edit.
Before sending, open the exported file in Photos or Files and zoom in on every covered spot to confirm nothing peeks around the edges. Blur tools work right in SnipMark Free (up to 3 screenshots per session with a small export mark); SnipMark Pro ($9.99 one-time) removes the watermark and unlocks unlimited screenshots per session, custom stamps, Long stitch, and Merged PDF via Universal Purchase across Mac, iPhone, and iPad.
Want the full walkthrough for marking up arrows, boxes, and review stamps without leaving Safari or Photos? See annotating screenshots directly from the iPhone Share sheet. Redacting desktop captures too? Follow our guide to hiding sensitive details on Mac screenshots.