
How to hide sensitive information in a screenshot on Mac
A screenshot can reveal names, account details or notifications beyond the area you meant to share. Remove unnecessary information before sending it and inspect the exported file, not just the editor preview.
SnipMark · macOS 14+
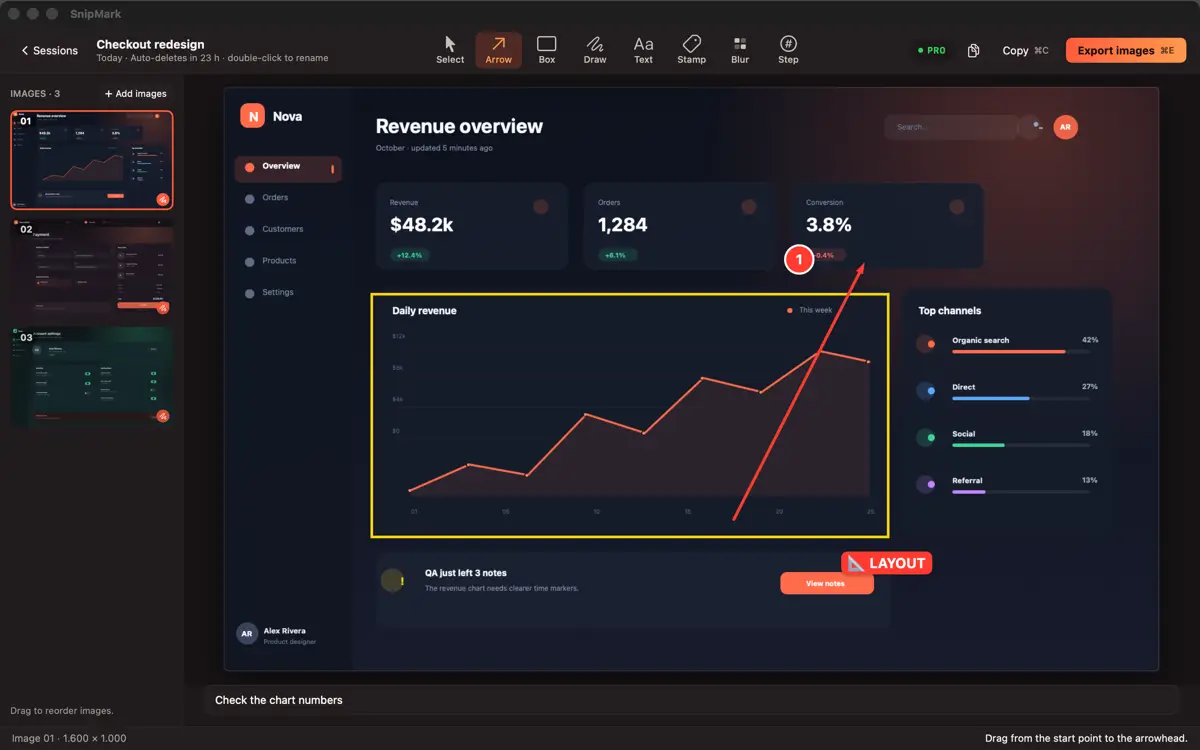
1. Capture only what you need
Close or hide private windows and notifications before capturing. On a Mac, press Shift-Command-4 and drag over the necessary area. Cropping or retaking the image can remove unwanted material at the edges; use the capture and annotation guide for more detail.
2. Review the entire image
Look for names, email addresses, account numbers, messages, browser tabs, notification banners and information in the background. Consider whether the recipient needs each visible detail. Keep the original private and work on a copy.
3. Hide details before sharing
For highly sensitive information such as passwords, recovery codes or financial details, avoid capturing it at all where possible. Otherwise remove it from the image or cover it with a fully opaque block. A light blur or fine pixelation can leave information recognizable; do not rely on blur alone for secrets.
SnipMark provides a Blur tool with pixelate and blur styles. In the editor, choose Blur, drag over an area and adjust the style and strength. This can reduce visibility, but it does not guarantee that obscured information cannot be inferred.
4. Export and verify the copy
Export an image and open the exported file separately. Zoom in, inspect every covered area and every edge, and make sure you are sharing the edited copy rather than the original. Check the destination and any file metadata before sending; avoid sharing editable source files containing the original image.
For a set of screenshots, inspect each page in the final document. The PDF guide explains how to combine captures; the SnipMark product page lists current availability and features.