
How to reduce screenshot file size on Mac
If a screenshot is too large to email or upload, first remove unnecessary areas, then consider its dimensions, format and quality. Keep the original and check the exported copy for readable text.
SnipMark · macOS 14+
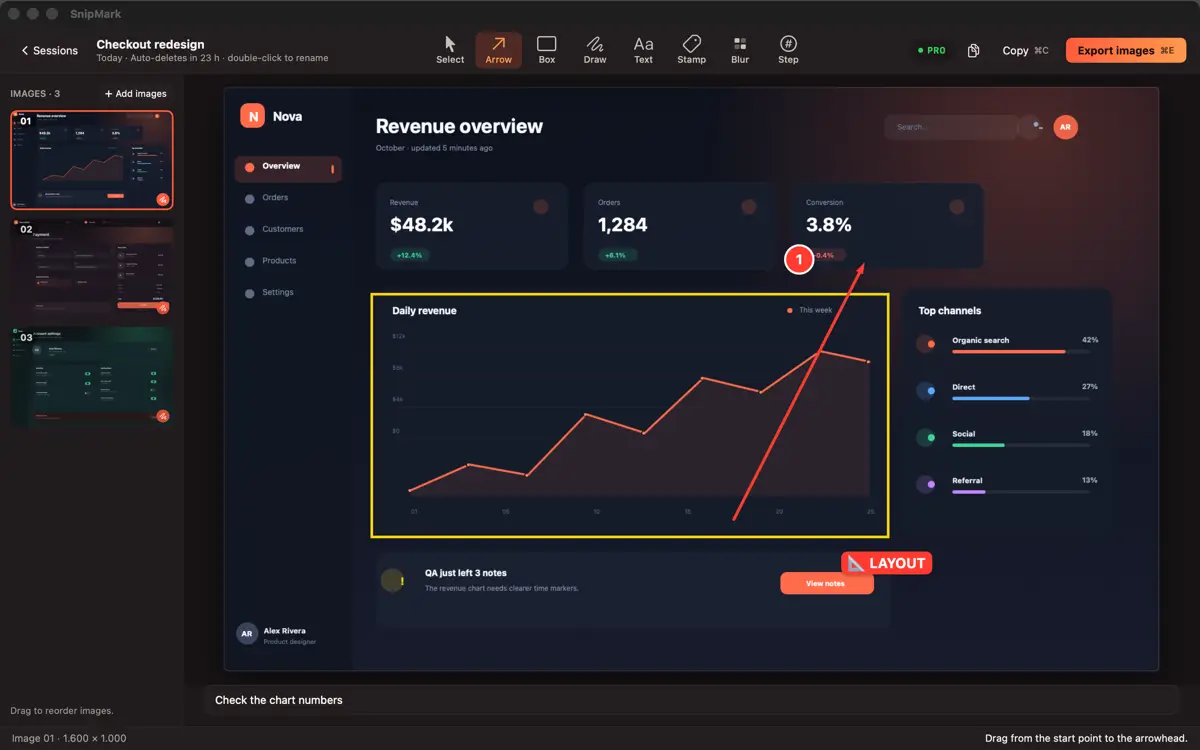
1. Capture or crop only what you need
Capture the relevant portion of the screen instead of the entire desktop, or crop a copy of an existing image. Avoid cutting away context that the recipient needs. The Mac capture guide explains how to select an area.
2. Resize an image in Preview
Open a copy in Preview and choose Tools → Adjust Size. Reduce its dimensions proportionally and check that small text remains legible. Save an edited copy and inspect its actual file size in Finder. Apple’s Preview resizing instructions describe the available controls.
3. Compare export options in SnipMark
In SnipMark, open the export sheet and choose an image format and quality setting. JPEG and WebP use adjustable quality; reducing quality can introduce visible artifacts. PNG is lossless and does not use the quality slider. SnipMark also shows an estimated export size so you can compare formats before saving, and you should check that the recipient or upload service accepts your chosen format.
Compare the exported file’s actual size and readability before sending. Results depend on the image and settings, so a different format does not guarantee a smaller file. The SnipMark product page describes current availability and features.
What if the file is still too large?
Try a smaller dimension or a different supported format on a copy, then inspect small text and diagrams again. If the destination has a specific size limit, check the saved file against it. Avoid sending private information unintentionally; see the screenshot privacy guide.