How to combine screenshots into a long image on Mac
A long image can present a sequence of screenshots in one vertical view. SnipMark Pro’s Long Stitch joins the images in a session from top to bottom; it is an export of existing captures, not an automatic scrolling capture.
SnipMark · macOS 14+
1. Capture the parts in order
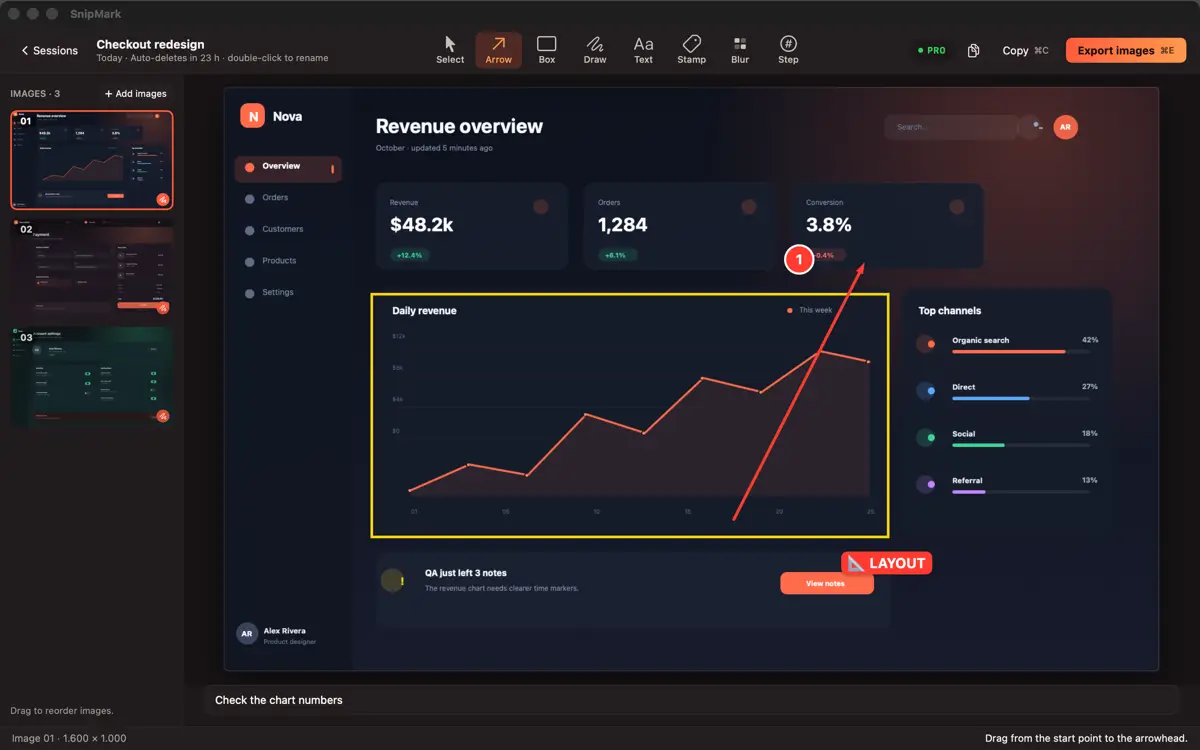
Capture the sections you need in a SnipMark session, keeping the same window width when practical. Check that each part is readable and appears in the order you want to share. For capture setup and screen recording permission, see the Mac capture guide.
If sections repeat between captures, review and crop them as needed before export. Long Stitch stacks the images; do not assume it automatically detects or removes repeated content.
2. Review and annotate
Add labels or arrows where they make the sequence easier to follow. Check every capture for personal or confidential details. Avoid capturing secrets in the first place; the screenshot privacy guide covers safe review before sharing.
3. Export with Long Stitch
Open the export sheet and choose Long Stitch. This mode requires SnipMark Pro. Images are joined top to bottom in session order and scaled to the same width; check the result for readability if the source widths differ. Long output may be split into multiple files.
Open the exported file or files separately and verify the order, edges and any private information before sharing. The SnipMark product page describes current availability and plan features.
Should I use a PDF instead?
Use an image when a vertical visual sequence suits the destination. If separate pages in one document are more useful, see how to combine screenshots into a PDF, including a built-in Finder option.