
How to batch rename and compress screenshots on Mac and iPhone
A single bug report or design review rarely stops at one screenshot. Leaving macOS and iPhone defaults on your Desktop fills folders with identical timestamps, forcing manual renaming before every upload.
SnipMark · macOS 14+ · iOS 17+
1. Replace generic timestamps with live naming chips
In the SnipMark export sheet, open the File name section and enter a short Project name such as checkout or onboarding. Instead of typing fragile format strings by hand, toggle the structured chips underneath—Index, Note, Date (yyyyMMdd), and App—while watching the live Preview row update immediately.
SnipMark’s default pattern ({project}_{index}_{note}) creates clean, sortable filenames like checkout_01_empty_cart.jpg and checkout_02_tax_row.jpg. Special characters are slugified automatically, and duplicate filenames receive safe suffixes so two shots with the same note never overwrite each other.
2. Pick a compression preset and check estimated size before saving
macOS Retina displays capture high-pixel PNGs that can easily weigh several megabytes per frame. Under Individual images in SnipMark, choose Chat ready (recommended) to half-size Retina dimensions at 75% JPEG quality, High detail for full Retina resolution at 90% JPEG, or Lossless for untouched PNG pixels.
Need tighter control for Slack, Jira, GitHub, or web docs? Expand the custom controls to switch formats between JPEG, WebP, HEIC, and PNG or set a max long edge pixel cap. SnipMark calculates live estimated output sizes across presets upfront so you know the batch weight before committing to disk. If you also resize single screenshots in Apple Preview, see how to reduce screenshot file size on Mac.
3. Stage a multi-capture session instead of exporting one by one
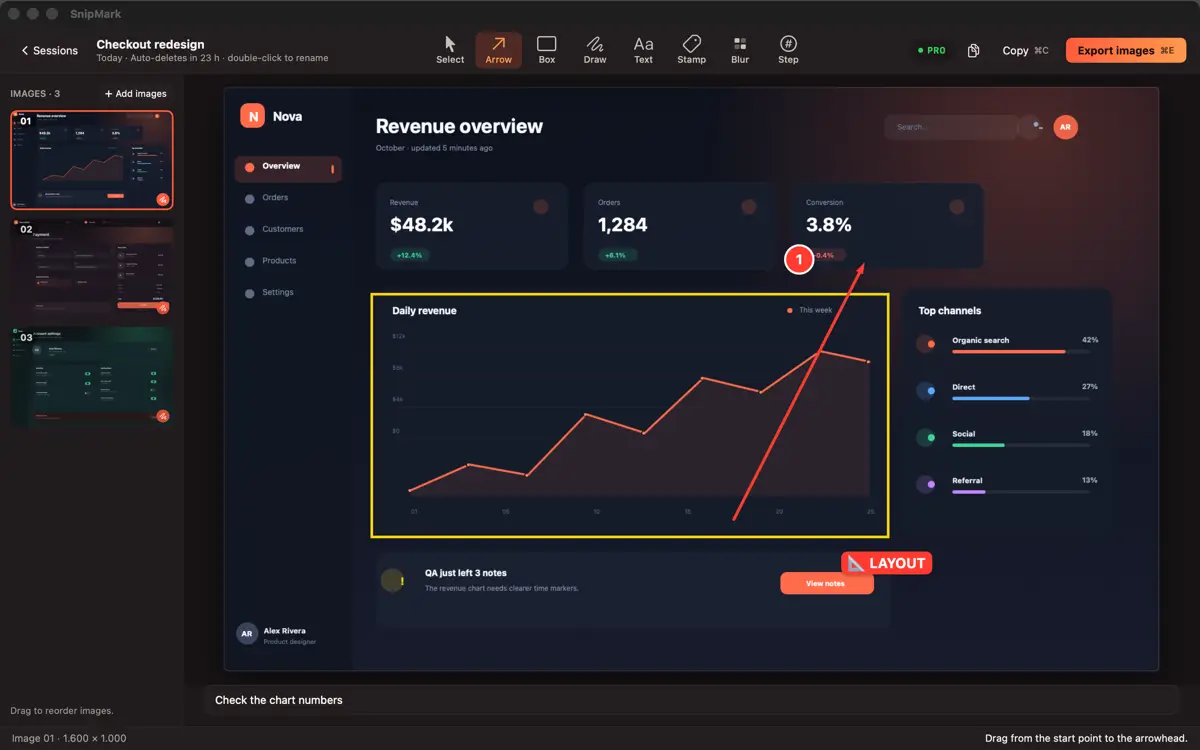
On Mac, keep capturing into the SnipMark session tray while stepping through a workflow, then reorder slides, add arrows or step numbers, and adjust each screenshot’s short note in one place. When ready, export the whole folder cleanly, copy all rendered images together, or drag files directly from SnipMark into Mail, Slack, Linear, or Finder.
On iPhone and iPad, collect multiple screenshots into a single SnipMark session, redact sensitive fields if needed, and batch process them locally on device—no files are uploaded to external servers.
4. Understand clean exports, PDF, and Long Stitch options
During export, Free builds add a small SnipMark watermark, while SnipMark Pro leaves watermark off by default (with an optional custom team watermark field when you want attribution).
If a workflow calls for a single handoff artifact rather than separate files, switch the top Output picker in the same export sheet to Merged PDF or Long stitch. For screen-recording permission help or capture shortcut setup on macOS, check SnipMark support.