How to stitch long screenshots on iPhone
iPhone’s built-in Full Page capture only works in a few Apple apps like Safari and forces a PDF export. When you need to share a long chat thread, receipt, or app screen as one vertical image, SnipMark’s Long Stitch joins your screenshots top to bottom on device—no cloud upload.
SnipMark · iOS 17+ (Universal Purchase with Mac)
Why Safari’s Full Page screenshot isn’t enough
iOS lets you tap Full Page right after taking a screenshot in Safari, Notes, or Mail, but it saves as a PDF instead of an image file. That format is awkward to paste into chat apps, support tickets, or social threads, and Full Page is unavailable inside most messaging and third-party apps.
With SnipMark on iOS 17+, you take standard iPhone screenshots as you scroll, then stitch them into a single tall PNG, JPEG, or WebP image—or a multi-page PDF when you actually want a document.
1. Capture your screens in order
Scroll from top to bottom and take overlapping or back-to-back screenshots using the iPhone Side button + Volume Up shortcut. Keep a steady screen width and avoid rotating between shots so text stays aligned.
SnipMark stitches the existing screenshots you select in session order; it is not an automatic screen-recording scroll capture. Before exporting, open any shot that overlaps with the previous one and crop out repeated rows in the editor so the transition reads cleanly.
2. Import screenshots into SnipMark on iPhone
You can start a session in two ways: open SnipMark and tap Choose screenshots to start a session to pick images from Photos (or use Choose files / Paste image), or select multiple screenshots in the Photos app and tap Share → SnipMark.
If SnipMark does not appear in the iPhone Share sheet, scroll down to the bottom of the Share menu, tap Edit Actions, and turn on SnipMark. See the SnipMark support page if you need help locating the action.
3. Review, annotate, and blur private details
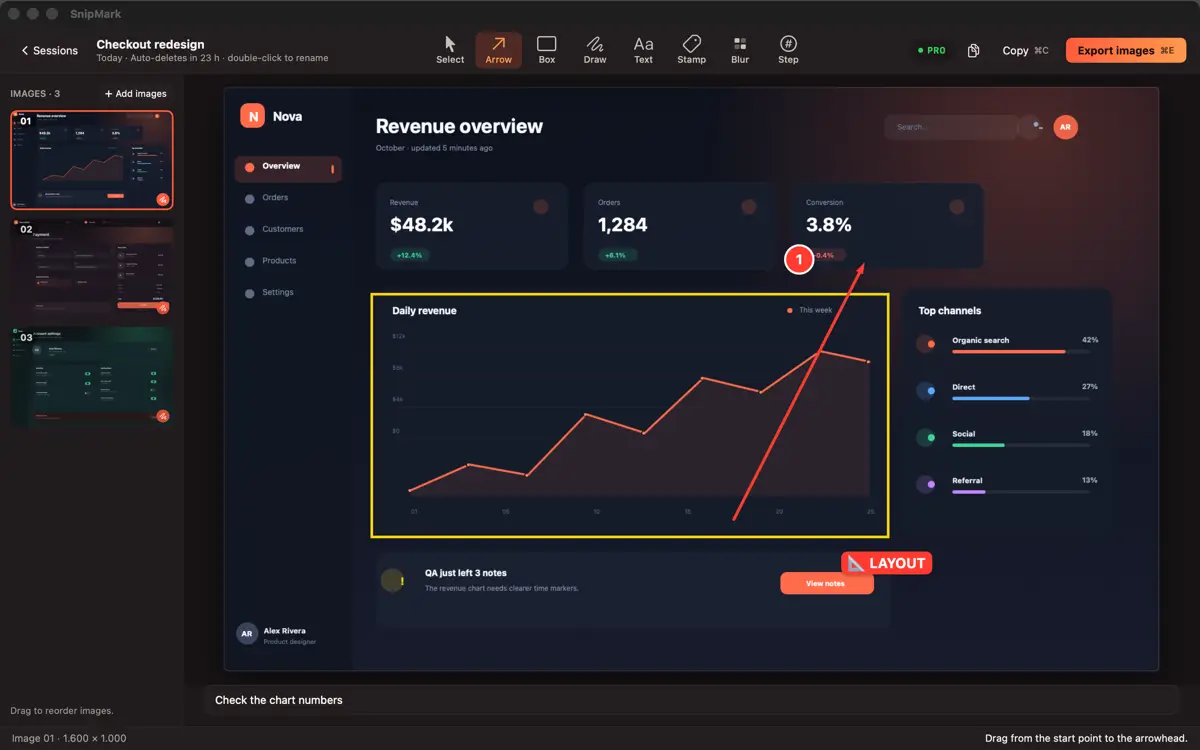
Before stitching, inspect each screenshot for phone numbers, email addresses, order IDs, or profile names you should hide. Use SnipMark’s Blur tool to obscure private areas directly on the image content rather than drawing semi-transparent highlighter strokes. For more privacy tips, see our guide to hiding sensitive details in screenshots.
You can also add vector arrows, text callouts, or numbered steps in the same pass before combining the sequence.
4. Export as one tall image with Long Stitch
Open the Export sheet and choose Long stitch under output mode. SnipMark joins the images from top to bottom in session order and scales them to match the narrowest image width so edges stay uniform.
Choose a preset based on where you are sending the file: Chat ready (half size · JPEG 75% for fast messaging), High detail (full Retina size · JPEG 90%), or Lossless (full size · PNG), or customize JPEG, PNG, or WebP output. Tap Copy to put the stitched image on your clipboard, or tap Share to save to Photos, save to Files, or send directly.
If a thread is extraordinarily tall (over 32,000 px high or 100 million pixels per part), SnipMark automatically splits the output into numbered parts (_part2, _part3) so iOS image viewers keep text sharp instead of downscaling it.
On-device privacy and Universal Purchase
Every step—importing, cropping, blurring, stitching, and compressing—runs 100% locally on your iPhone. SnipMark does not create an account, bundle analytics, or upload your screenshots to any server. Working sessions automatically clear from local app storage 24 hours after your last edit, while exported images saved to Photos or Files stay yours.
SnipMark Free includes up to 3 images per session with a small export mark. SnipMark Pro ($9.99 one-time) unlocks Long Stitch, Merged PDF, unlimited images per session, and watermark-free exports—and because it uses Apple Universal Purchase on the App Store, buying Pro once unlocks it across your Mac (macOS 14+), iPhone, and iPad (iOS 17+).
Working on a desktop instead? See how to combine screenshots into a long image on Mac, or combine screenshots into a PDF.